


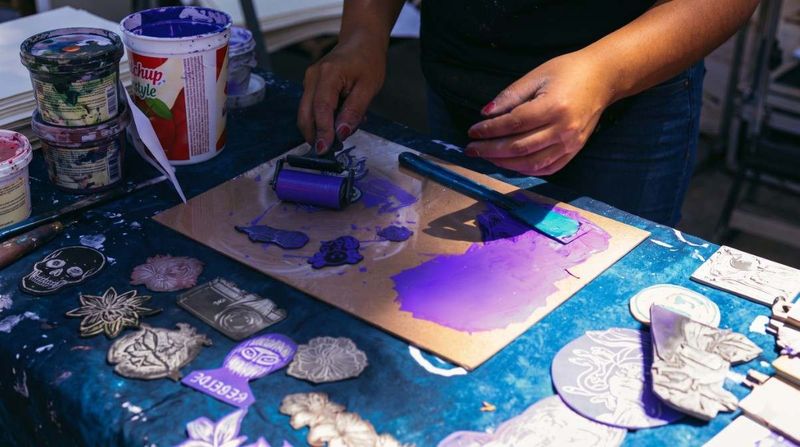
Here's something I like about printmaking: one drawing can become five different artworks, and none of them have to look identical. Draw or paint directly onto a surface, and that's it; you've got one piece. Printmaking works differently. You build an image on one surface, then transfer it, and you can transfer it again and again, changing something small each time.
For students who are new to it, that repeatability is honestly the whole point. It turns a single idea into a series of small experiments. This blog walks through the printmaking basics for students just starting out: what the main techniques are, what you'll actually need to buy or borrow, and a simple process you can follow regardless of which method you pick.
What Is Printmaking, Really?
Printmaking is the process of transferring ink from a prepared surface, a block, plate, stencil, or screen, onto paper or another material. You don't work directly on the final piece. You build the image on something else first, and the print is what comes off that.
That's the real difference between printmaking and drawing something once. The intermediate surface can be reinked and pressed again, so a single design might produce ten prints, and no two of them need to be exactly the same. Small variations in ink, pressure, or paper change the result every time, which is why printmaking tends to reward students who are willing to try the same idea more than once instead of chasing one perfect outcome.
The main types of printmaking
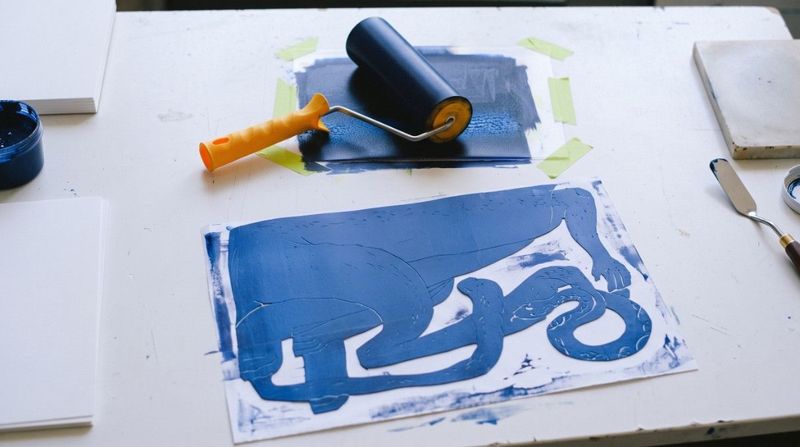
There are a handful of core categories, and each one controls ink placement in a different way.
Relief printing: Ink sits on the raised parts of a block. Whatever you carve away stays bare.
Intaglio: The reverse of relief. Ink collects in cut or incised lines, and the flat surface gets wiped clean before printing.
Planographic printing: Image and non-image areas share the same flat surface, kept separate by chemistry rather than height. Lithography is the classic example.
Screen printing: Ink is pushed through open sections of a mesh screen while a stencil blocks the rest.
Monoprinting: Each print comes out largely one of a kind, since the surface changes as you work. Knowing these five categories makes the more specific techniques below easier to place.
What you'll actually need
You don't need a full studio to get started. A basic kit usually covers:
- A printing block (lino, soft-cut, or wood)
- Carving tools
- Printing ink
- A brayer or roller
- Paper that can handle printing
- A plate, if you're doing intaglio or monoprinting
- A screen and squeegee for screen printing
- An apron and gloves when the material calls for it
Carving tools are sharp, and inks can stain skin or irritate it, so use them the way you were shown: carve away from your body, and work somewhere with decent airflow if the ink calls for it.
Relief printing, the short version
The whole process fits in five words: design, carve, ink, transfer, and reveal.
You carve away the parts of the block you don't want to print. Whatever stays raised picks up ink from the roller and transfers it onto paper when you apply pressure. A couple of things trip students up the first time. The print comes out mirrored from how the block looks, so if there's any text or a specific orientation in your design, flip it before you carve. And carving is basically permanent, so it's worth sketching the design out fully before you cut anything. Early on, think in shapes rather than fine detail. The contrast between what's carved and what's raised is what actually reads as an image once it's printed.
Linocut: Usually the first technique students try
There's a reason so many students start here. It's accessible, it doesn't need much equipment, and even a simple design tends to look strong once it's printed. It's also a good way to learn to think in positive and negative space, since carving forces you to decide what stays and what goes. The basic sequence looks like this:
- Sketch the idea.
- Transfer the design onto the block.
- Decide what stays raised.
- Carve, working away from your body.
- Roll ink evenly across the surface.
- Press the paper onto the block.
- Peel it back and see what you've got.
That last step is where a lot of students get hooked. Even a rough first attempt usually turns out more interesting than they expected.
Screen printing, for beginners
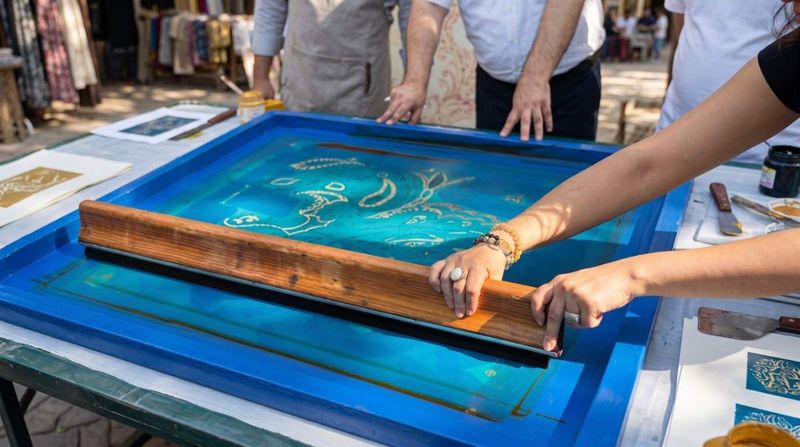
Screen printing works on a different principle than carving. Instead of removing material from a block, you build a stencil that blocks ink in certain spots while letting it pass through a fine mesh everywhere else.
To start, you'll need a screen (mesh stretched over a frame), a stencil (this can be as simple as cut paper), a squeegee, and ink suited to whatever you're printing on. If you're layering more than one color, registration matters a lot, meaning each layer has to line up with the one before it. Even a small shift throws off the final image. This section is meant to stay beginner-friendly. Multi-color screen printing setups get technical fast, and that's worth learning once the basics feel familiar.
Monoprinting
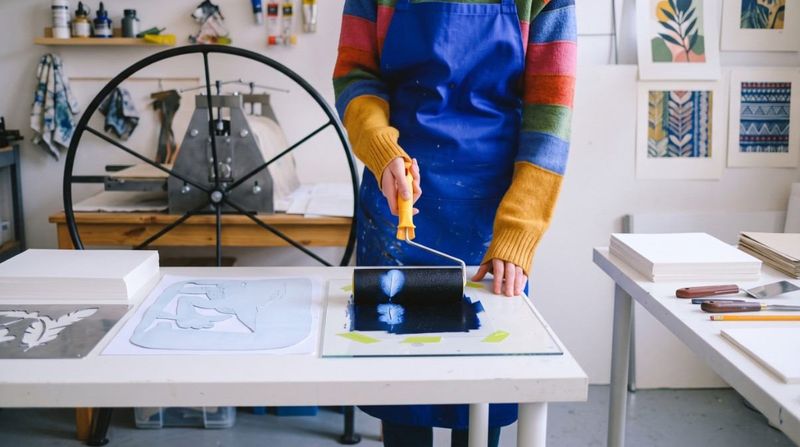
The defining feature of a monoprint is that it's largely unrepeatable. A carved block can be reinked and pressed dozens of times with similar results. A monoprint's surface changes each time you touch it, so the print you pull won't come out the same way twice.
That makes it a good space to experiment. Students use monoprinting to layer color, try unusual mark-making tools, or just see what happens when they push ink around without a fixed plan. There's less pressure to get it right, which is exactly why a lot of students end up preferring it once they've tried the more controlled techniques first.
A process that works across techniques
Whatever method you're using, most printmaking projects move through roughly the same stages.
Develop the idea: Start from observation, references, or something out of your own head.
Prepare the design: Think about composition and about positive and negative space before you commit to a surface.
Prepare the surface: Carve it, draw it, or cut the stencil, depending on your technique.
Apply ink: Too much or too little changes the result more than you'd expect.
Transfer the image: Print onto paper or material with even pressure.
Look at what you made, and decide what to change: this step gets skipped a lot, and it shouldn't. The difference between print one and print five is usually where the real learning happens.
Relief Printing vs. Screen Printing
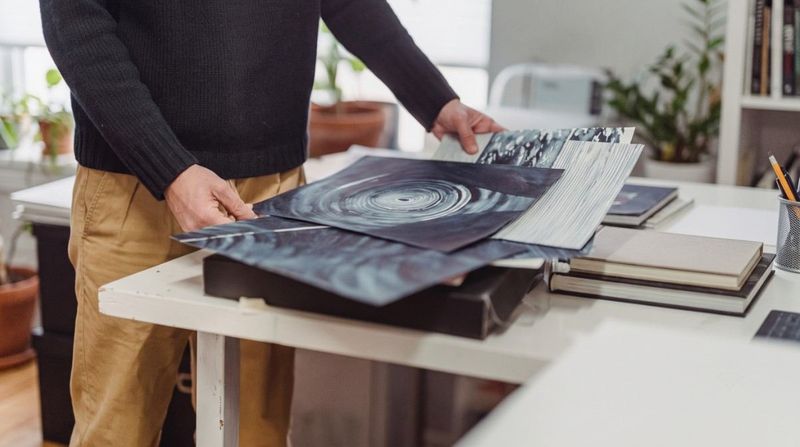
Relief Printing
Screen Printing
Uses a raised printing surface
Uses a mesh screen
Usually involves carving
Uses a stencil
Good for bold, graphic designs
Good for layered designs
Works well at a small scale
Handles repeated prints well
Linocut is the common entry point.
Common for posters, textiles, graphic work
Does printmaking work for an IB art portfolio?
It can, and often for reasons that have nothing to do with how the final print looks. Printmaking naturally generates evidence of experimentation, research, iteration, and reflection, since a series of test prints basically documents your own thinking as you go.
The finished print isn't really the point on its own. What tends to matter more is being able to show the decisions behind it: what you tried, what didn't work, and what you changed. Keep the failed attempts. They're often more useful for a portfolio than the print you're proudest of. That said, check your current IB requirements and assessment criteria before assuming anything counts. Programs update these details, and it's worth confirming rather than guessing.
How long does this actually take to learn?
You can produce a basic, recognizable print in your first session. That part isn't hard.
Getting consistent results, clean edges, even ink coverage, and prints that don't smudge takes a few more sessions of practice. And developing an actual sense of your own approach, the kind of thing that makes your prints look like yours, takes regular, ongoing practice over a longer stretch. There's a real gap between learning the process and getting good at it, and it's worth knowing that going in so you don't get discouraged by an early rough print.
A few things worth knowing before you start
Keep the first design simple: Highly detailed drawings are hard to carve cleanly, especially before you've built up any control.
Think in negative space, not just positive: This matters most for relief printing, where what you remove decides the image as much as what stays.
Don't expect a clean print every time: Some variation is normal, not a sign you're doing it wrong.
Try different papers and pressures: the same block can look completely different depending on what you print it on.
Hang onto your test prints: they're useful later, both for your own reflection and for showing process in a portfolio.
Conclusion
What I keep coming back to with printmaking is that it forces you to make decisions and then live with them for a while. You plan, you carve something you can't take back, you see how it printed, and then you decide what to do differently next time. That loop, plan, act, look, adjust, is where most of the actual learning happens, not in any single finished piece.
That's probably the best case for printmaking as a technique to teach students early. It's less about producing one good image and more about getting comfortable with a process that includes some failure along the way.
FAQs
1. What are the main types of printmaking?
Relief, intaglio, planographic, screen/stencil, and monoprinting. Each one controls where ink lands differently.
2. What do I actually need to get started?
A block, carving tools, ink, a roller, and paper covers relief and linocut. Screen printing adds a screen and squeegee.
3. What's the real difference between relief and screen printing?
Relief uses a carved, raised surface. Screen printing pushes ink through a mesh using a stencil to block certain areas.
4. Is printmaking a good fit for an IB portfolio?
Usually, yes, mostly because it naturally shows process and iteration. Check your program's current criteria before relying on it.
5. How long before I'm actually decent at this?
A recognizable print, day one. Consistency, a few sessions. Anything resembling your own style, regular practice over time.